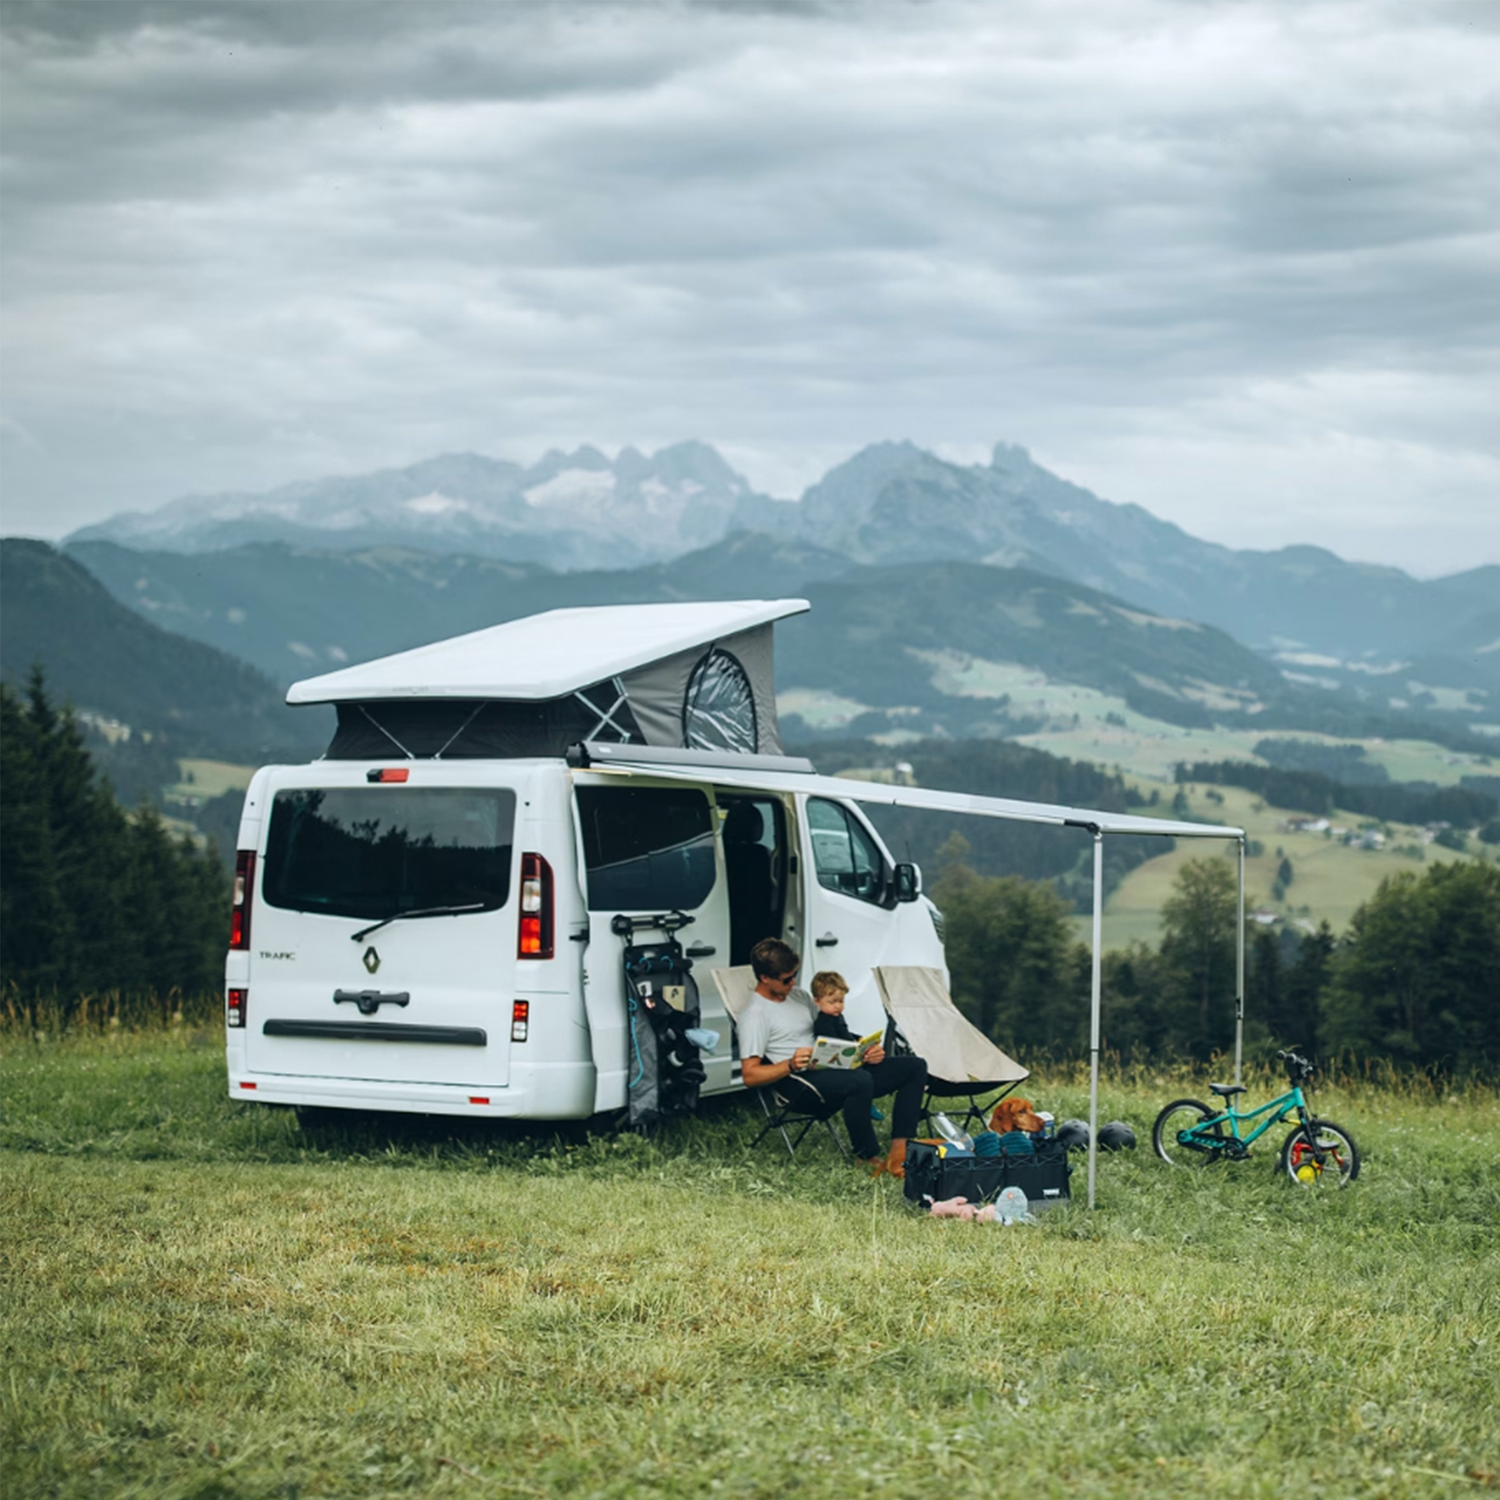
Adding a Fiamma F45s awning to your campervan is a great way to enhance your outdoor setup, providing instant shelter and extending your living space. In this guide, we’ll walk you through the step-by-step process of fitting a Fiamma F45s awning onto a Vamoose awning rail, ensuring a secure and professional installation.
What You’ll Need
-
Fiamma F45s awning
-
Vamoose awning rail
-
Bracket kit (includes main plate, sandwich plate, and awning plate)
-
Masking tape
-
Measuring tape
-
Drill with various drill bit sizes (up to 9mm)
-
Rivnut tool
-
M6 Allen cap bolts and washers
-
Sealant
-
Pencil for marking
Step 1: Understanding the Bracket Kit
The bracket kit consists of three main components:
-
Main Plate – Sits at the top of the gutter.
-
Sandwich Plate – Bolts onto the top and secures into the gutter.
-
Awning Plate – Adjusts in height and allows the Fiamma F45s to clip into place.
This setup ensures a strong and reliable mounting point for your awning.
Step 2: Choosing the Right Awning Size
-
For a short wheelbase van, use a 2.6m awning.
-
For a long wheelbase Transporter, a 3m awning is required.
The back of the awning has stickers labeled “support,” but these are not where the brackets should be positioned. Instead, the brackets need to be spaced out correctly for optimal support.
Step 3: Measuring and Marking Bracket Positions
-
Measure from the ends – Come in about 50cm from each end of the awning.
-
Use masking tape – Place a small strip on both the awning and the van to help with alignment.
-
Mark the bracket locations – The spacing between the brackets should be approximately 1.6m.
Step 4: Installing the Front Bracket
-
Fit the bracket – Position the sandwich plate over the awning rail.
-
Mark the drill holes – Use a pencil to mark the two holes at the back of the bracket.
-
Drill pilot holes – Start small and work up to a 9mm drill bit.
-
Install rivnuts – Insert and secure them using a rivnut tool.
-
Apply sealant – Add sealant to the threads for a watertight fit.
-
Secure the bracket – Use M6 Allen cap bolts and washers to fasten it in place.
Step 5: Installing the Rear Bracket
-
Measure back 1.6m from the first bracket.
-
Follow the same steps as the front bracket installation.
-
Ensure alignment so the awning sits evenly on the van.
Step 6: Attaching the Awning
-
Hook the awning into place – The top of the bracket has a hook that slides into the profile on the back of the awning.
-
Secure the bottom – The base of the awning rests on the bracket shelf.
-
Drill pre-drilled holes – Use the bracket’s holes as guides to drill into the aluminum casing of the awning.
-
Bolt it in place – Wind out the awning slightly, then secure it with bolts and nuts.
Final Check and Testing
-
Ensure all bolts are tight.
-
Check that the awning extends and retracts smoothly.
-
Verify that the installation is secure and stable.
Your Fiamma F45s awning is now professionally fitted and ready for use. Whether you’re camping, touring, or simply enjoying the great outdoors, this setup will provide reliable shade and protection for your adventures.
Why Choose a Fiamma F45s Awning?
The Fiamma F45s is one of the most popular campervan awnings for good reason. It features a sleek, compact design that integrates neatly onto your van without adding excessive bulk.
The sturdy aluminum casing ensures durability, while the easy wind-out mechanism makes setup a breeze. The awning fabric is UV-resistant, waterproof, and designed to withstand the elements, providing you with a long-lasting and reliable outdoor shelter. Whether you're stopping for a quick roadside break or setting up camp for the weekend, the Fiamma F45s is a great investment in comfort and convenience.


Leave a comment
This site is protected by hCaptcha and the hCaptcha Privacy Policy and Terms of Service apply.