If you’re into campervan builds, off-road adventures, or just love a bit of extra brightness when you hit the road, you’ve probably come across Lazer driving lights. These sleek, powerful lights are the ultimate upgrade for anyone who wants serious visibility and that clean, integrated grille-mounted look.
An alternative to this would be the Stealth LED Light kit.
In this week’s Works in Progress, the team dives into fitting a set of Lazer E9s, covering everything from cutting the grille (gulp) to wiring the CANbus system, setting up the sidelights, and giving the van that perfect pro finish.
Let’s take a closer look at how it all comes together.
The Kit: What’s in the Box?
The Lazer E9 kit is impressively well thought out. Inside, you get:
-
The Lazer E9 lights (available in a few sizes and designs some chunkier, some slimmer)
-
Built-in sidelights with your choice of white or amber glow
-
A universal wiring harness with relay, connectors, and battery leads
-
Mounting brackets (left and right sided)
-
A 3D-printed cutting jig to make sure you don’t butcher your grille
-
CANbus reader for modern vehicles with LED DRLs
-
And of course, full installation instructions, downloadable if you prefer digital
The attention to detail is spot on — from the pre-fitted connectors to the included cutting guide, it’s clear these kits are designed for both precision and practicality.
Cutting the Grille (Yes, Really!)
Okay, this is the part that makes most people nervous cutting into the front grille of your van. But thanks to the 3D-printed cutting jig, it’s way easier (and safer) than it sounds.
The jig clips straight into the grille and marks out the exact section you need to remove. The key here is accuracy, you want the light to sit perfectly flush, so take your time marking and checking before you start cutting.
Always double-check that the cutout size matches your light before you commit. And whatever you do, watch out for the radiator behind the grille. A few careful, shallow cuts are far better than one deep slice that ruins your cooling system.

Wiring & Sidelight Options
Once the grille is cut and the lights are sitting snugly, it’s time to tackle the wiring.
Each light plugs into the main harness via a weather-sealed Deutsch-style connector. The harness itself is universal, so it works across a variety of vehicles. It comes with:
-
A relay
-
Battery connectors (red and black)
-
Signal wires for the sidelights and high beams, now here’s the fun bit; you can choose the colour of your sidelights:
-
Plug in the brown wire for a warm amber glow
-
Plug in the green wire for a crisp white glow
It’s totally down to taste. In this build, the van already had LED DRLs, so the team went for the white option to match.
Once you’ve picked your colour, tuck away the spare wire neatly zip-tie everything in place so nothing rattles around, and make sure your slack is managed for a clean finish.
Dealing with CANbus Vehicles
Now, this is where things get a little more technical.
On modern vehicles like the VW Transporter T6.1, the headlights and DRLs are CANbus controlled. That means there’s no simple “switched 12V” live feed to tap into the system it uses digital signals instead.
To get around this, the Lazer kit includes a CANNY CANbus reader. This clever little box connects to the van’s wiring harness and translates the digital CAN signals into traditional 12V triggers.
Here’s how it works:
-
CAN High & CAN Low wires (blue and white) tap into the vehicle’s CAN system.
-
The reader then provides output signals for the main beam (purple) and sidelight (green).
-
These trigger the relay, turning the lights on automatically when the van’s lights are activated.
The CANNY also connects to a constant power supply and a solid ground. Once it’s installed and paired via the CANNY app (just scan the barcode on the unit for your vehicle’s setup), it’s plug-and-play magic.

Routing the Wires & Final Setup
With everything connected and tested, the final job is to route the switch wires neatly through the firewall into the cab.
The cables follow the existing loom and pass through a rubber grommet under the steering column, keeping everything protected and tidy. Once in place, the controller and relay are mounted securely, and the excess cable is zip-tied out of sight.
After a quick check that all the connections are tight and the lights sit flush, it’s time for the best part: the test run.
Hit the sidelights, a clean white glow.
Flick on the main beams, the Lazer E9s fire up like twin spotlights...
Perfect.
Securing the Lights
The kit even includes security Torx screws to make sure your new lights stay put (and can’t be easily pinched). Just drill a small pilot hole, 2.5mm according to the manual and secure the anti-theft screws into place.
A small detail, but a very worthwhile one.
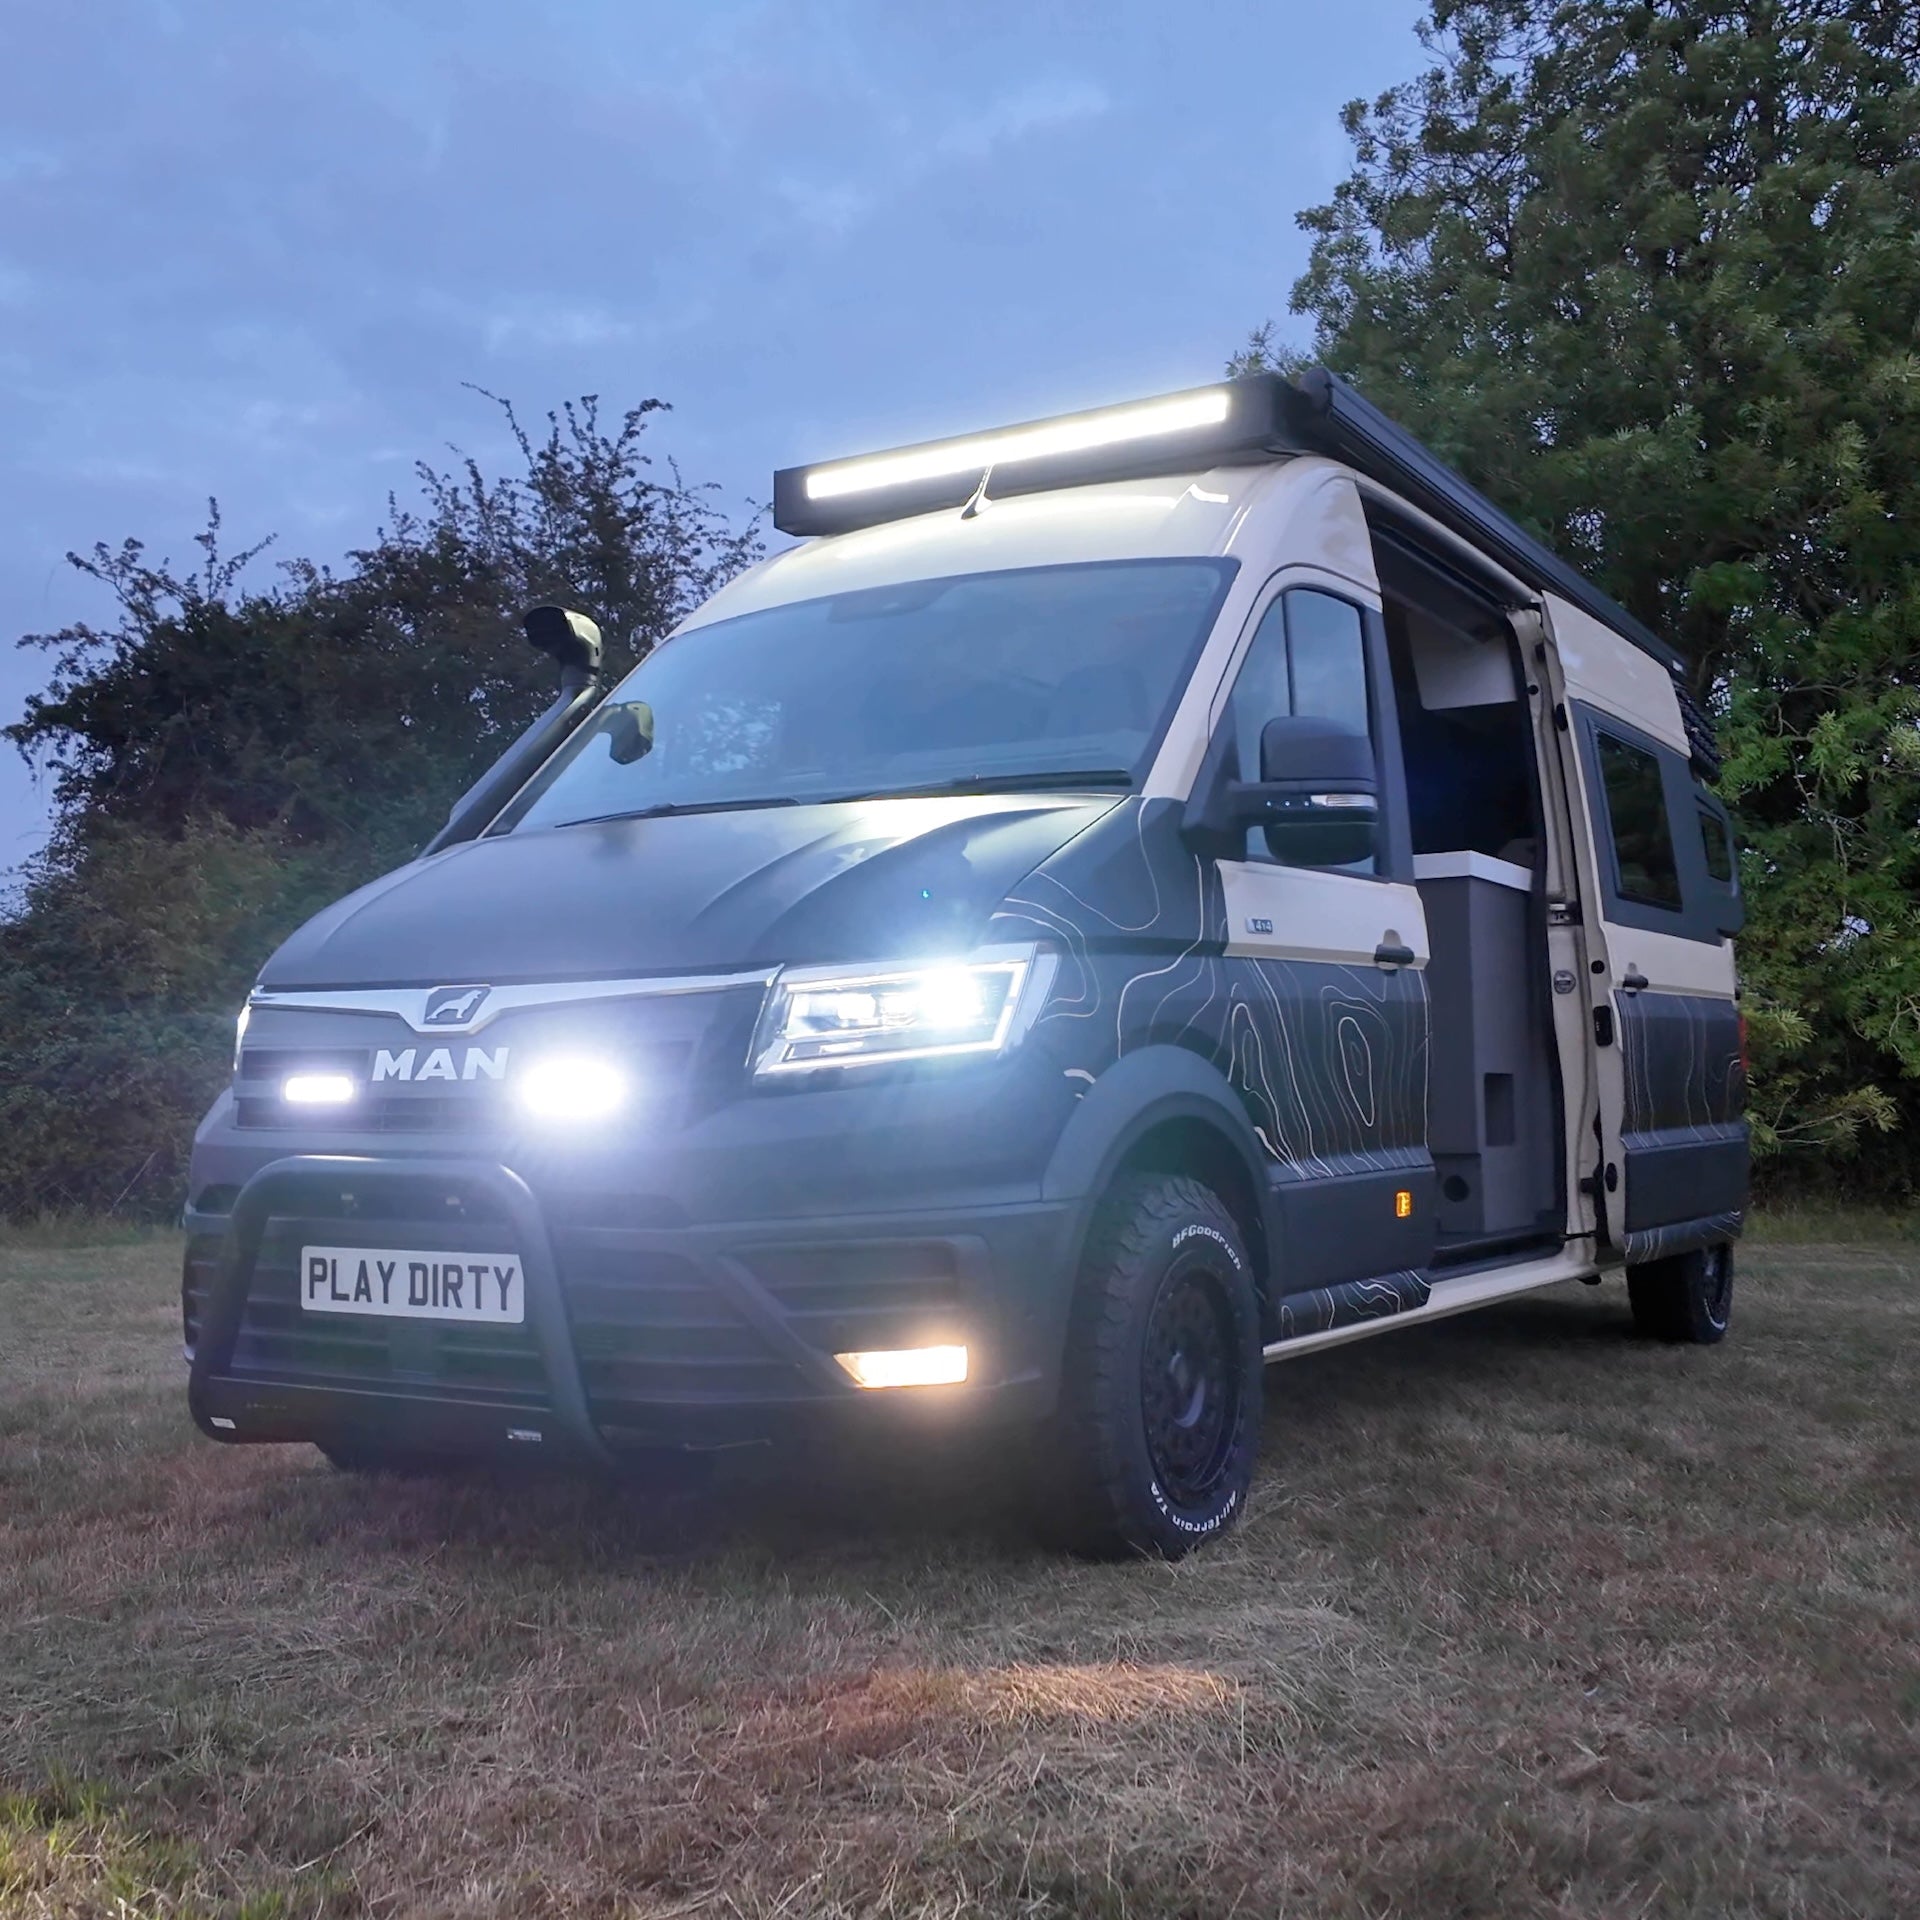
 The Result: Looks Mean, Lights Meaner
Once everything’s buttoned up, the result speaks for itself. The Lazer E9s blend seamlessly into the grille for that factory-fit finish — no bulky brackets or wires on show.
And performance-wise? Night driving instantly feels safer and sharper. These lights don’t just illuminate the road; they transform it.
Whether you’re cruising dark country lanes, tackling mountain passes, or just want your van to look the part, the Lazer E9s tick every box.


