Today, we’ve been working on installing a Bravo Snorkel onto a VW T6.1. It’s a job you can do at home if you’re confident with tools and have a bit of patience though it’s definitely easier with access to a workshop and the right equipment.
If you love taking your VW Transporter off the beaten path or simply want to prepare for those unpredictable floods and wet roads, fitting a snorkel is a smart upgrade. Not only does it look great, but it also helps protect your engine when driving through deep water or dusty terrain. Once you start going Swamper you won't stop.. First up Snorkel, next stop Swamper Alloys.
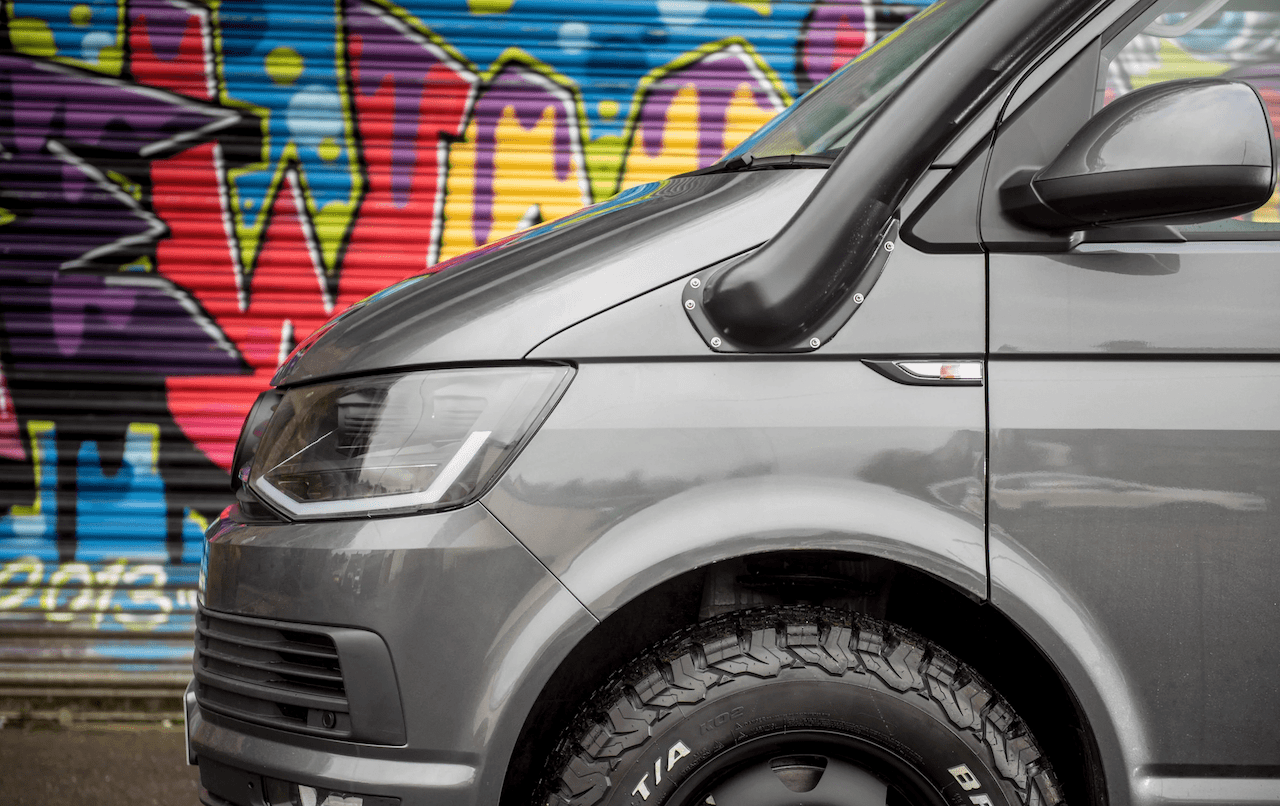
There’s something undeniably tough-looking about a VW Transporter with a snorkel. It instantly gives off that rugged, adventure-ready vibe like it’s just waiting to tackle muddy trails or splash through flooded lanes.
But beyond the looks, a snorkel can actually be really practical. It raises your air intake point higher up, helping your engine breathe cleaner air in dusty or wet conditions. And if you live somewhere that floods regularly (like we do!), it can make a big difference when the roads turn into rivers.
Today, we fitted one of these to a VW T6.1, and while it’s not the easiest upgrade out there, it’s definitely something you can do yourself if you’ve got the tools, a bit of patience, and maybe a friend to lend a hand.
Before You Start
This is one of those modifications that’s best planned out before you touch a single bolt. You’ll need a few key tools, including a hole saw (we used a 102mm one), a jigsaw or nibbler, basic hand tools, and a clear, flat workspace.
If you’re not completely sure about doing it yourself, don’t worry it’s always okay to ask for a bit of help. And if you have questions, you can reach out to us in the comments or message us directly for advice

Getting Started: Tools, Space, and a Bit of Confidence
Before you start cutting holes in your van (yes, that’s part of it), make sure you’ve got a decent workspace and the right tools. You’ll need:
-
A 102mm hole saw
-
A nibbler or jigsaw
-
A socket set and basic hand tools
-
A drill
-
Plenty of masking tape and marking tools
Having access to a workshop makes life much easier, but if you’re doing this at home, just take your time and plan each step carefully. And if you get stuck or just need a bit of advice feel free to drop us a message or comment. We’re always happy to help.
Step 1: Strip It Back
First things first, off come the windscreen wipers. This gives you access to remove the front scuttle panel, which needs to come off before you can reach the air intake area.
Once that’s out of the way, disconnect the air filter box. It sounds more complicated than it is just a few clips and bolts but it’s essential because the snorkel connects directly to this part of the system.
Step 2: Find Your Cutting Point
With the air box out, you’ll see exactly where the snorkel will feed through the van’s bodywork.
This is where things get interesting. You’ll need to mark and cut a hole through both the inner and outer panels. Don’t panic as long as you measure carefully, it’s straightforward.
The snorkel kit usually comes with a template to help you line it up properly. The tricky part is that it’s not a perfect circle it’s slightly oval-shaped, so precision is key.
We start by cutting the bulk of the hole with a 102mm hole saw, then tidy up the edges using a nibbler or jigsaw. This combo gives a neat, factory-looking finish.
Step 3: Fit, Check, and Reassemble
Once your opening is cut and clean, it’s time for a quick test fit. Slot the snorkel into place and make sure everything lines up correctly before you start bolting it down.
After that, reconnect your air box, refit the front panel, and pop the windscreen wipers back on.
And that’s it, your snorkel’s in!
Why Bother Fitting a Snorkel?
Some people think snorkels are purely cosmetic. Others swear by them. The truth is probably somewhere in between.
If you regularly drive through flooded areas, muddy tracks, or dusty countryside roads, a snorkel is a genuinely useful addition. It keeps your air intake higher and cleaner, helping protect your engine from water and debris.
But even if you never leave the tarmac, it’s hard to deny, they just look great. They give your van that expedition-ready feel, and let’s be honest, who doesn’t love that?

Final Thoughts
Fitting a snorkel isn’t the easiest mod out there, but it’s definitely one of the most rewarding. It transforms the look of your van and gives it a functional edge for real-world driving conditions.
If you’ve got the tools, the space, and the patience, it’s absolutely something you can do yourself. Just take your time, measure twice, and don’t rush the cutting.
Would we fit one again? Absolutely. They’re practical, they look fantastic, and for anyone dealing with muddy lanes or rising floodwater — they’re a bit of peace of mind too.


